
fltr thermometer manual
Welcome to the FLTR Thermometer Manual! This guide provides step-by-step instructions for setting up, using, and maintaining your FLTR infrared thermometer. Ensure optimal performance and safety by following the detailed instructions carefully.

Key Features of the FLTR Thermometer
The FLTR Thermometer boasts advanced infrared technology, enabling non-contact measurements for safety and convenience. It features a fever alarm, Celsius/Fahrenheit conversion, and a low battery indicator for optimal functionality.
Infrared Technology
The FLTR Thermometer utilizes advanced infrared technology to measure temperature by detecting infrared energy emitted from the forehead. This non-invasive method ensures accurate and quick readings without physical contact. The device’s optics collect and focus emitted, reflected, and transmitted energy onto a detector, which is then processed by the unit’s electronics to display the temperature. The inclusion of a laser pointer enhances precision by guiding accurate aiming. This technology is particularly useful in medical settings, providing a hygienic and efficient way to measure body temperature for individuals of all ages. It is also ideal for objects, offering versatility in various applications. The infrared system ensures reliability and consistency in measurements, making it a trusted tool for both home and professional use.
Non-Contact Measurement
The FLTR Thermometer features a non-contact measurement system, allowing users to obtain accurate temperature readings without touching the surface. This method is highly hygienic and convenient, especially for measuring body temperature in healthcare settings. The device uses infrared technology to detect energy emitted from the forehead, ensuring quick and precise results. Non-contact measurement is ideal for individuals of all ages, including children and adults, as it eliminates discomfort and the risk of cross-contamination. This feature makes the FLTR Thermometer a practical and efficient tool for both home and professional use, providing reliable readings with minimal effort. It is particularly useful in situations requiring frequent temperature monitoring.
Celsius and Fahrenheit Conversion
The FLTR Thermometer offers a convenient Celsius and Fahrenheit conversion feature, allowing users to switch between temperature units effortlessly. To convert, ensure the device is turned off, then hold the measurement trigger for 6 seconds until the “°F” or “°C” symbol appears on the display. Release the trigger to confirm your selection. This feature ensures versatility for users who prefer different temperature scales. The thermometer automatically retains the selected unit for future measurements, providing a seamless experience. This functionality is particularly useful for international applications or personal preference, making the FLTR Thermometer adaptable to various user needs. The conversion process is quick and straightforward, ensuring accurate readings in either unit.
Fever Alarm Function
The FLTR Thermometer features a built-in fever alarm function designed to alert users when an elevated temperature is detected. This function is particularly useful for monitoring feverish conditions, especially in children and vulnerable individuals. Once a temperature exceeding the normal range is measured, the thermometer emits a distinct audible signal and displays a visual indicator. This immediate feedback ensures timely awareness of potential health concerns. The fever alarm can be toggled on or off based on user preference, providing flexibility in different measurement scenarios. This feature enhances the device’s practicality for both medical and home use, making it a reliable tool for health monitoring. The alarm function is intuitive and user-friendly, ensuring peace of mind during temperature checks.

Installation and Setup
Begin by carefully unboxing the FLTR Thermometer and installing the batteries as specified in the manual. Ensure the device is properly calibrated before first use for accuracy.
Battery Replacement Procedure
To replace the batteries in your FLTR Thermometer, first ensure the device is turned off to avoid any accidental activation. Locate the battery compartment, usually found at the rear or bottom of the device. Open the compartment by sliding it or using a screwdriver, depending on the model. Remove the old batteries and discard them properly. Insert the new batteries, ensuring they are placed correctly with the positive and negative terminals aligned. Close the compartment securely. If the low battery indicator appears, this procedure should resolve the issue. Use the recommended battery type for optimal performance. Always handle batteries safely and dispose of them responsibly.
Initial Setup and Calibration
Before using your FLTR Thermometer, ensure it is properly set up and calibrated. Turn on the device and follow the on-screen instructions to complete the initial setup. Most models come pre-calibrated, but verify this by referring to the manual. If calibration is required, press and hold the designated button (usually the measurement trigger) until the calibration menu appears. Select the appropriate option and follow the prompts to complete the process. Ensure the device is updated with the latest software for optimal performance. Calibration ensures accurate temperature readings, so double-check the process before first use. Refer to the manual for specific instructions. Proper setup guarantees reliable results. Always follow safety guidelines during calibration.

Operating Instructions
Follow these steps for proper use: Power on the FLTR Thermometer, aim at the target, and pull the trigger for a quick reading. Ensure the device is calibrated and batteries are sufficient for accurate results. Refer to the manual for detailed guidance on measurement techniques and troubleshooting tips to ensure optimal performance and reliability. Always follow safety precautions and maintenance recommendations to prolong the device’s lifespan. Proper operation guarantees precise temperature measurements every time. Adhere to the instructions for best results.
Preparing for Measurement
Before using the FLTR Thermometer, ensure it is properly prepared for accurate readings. Turn on the device and check the battery level; replace batteries if necessary. Clean the infrared sensor with a soft cloth to remove dirt or debris. Calibrate the thermometer according to the manual’s instructions for precise measurements. Ensure the target area is dry and free of obstructions. Avoid direct sunlight or extreme environmental conditions that may interfere with readings. Hold the thermometer steady, aligning the laser pointer with the measurement area. Follow the manual’s guidelines for proper distance and angle to ensure accurate temperature detection. Proper preparation is key to reliable results.
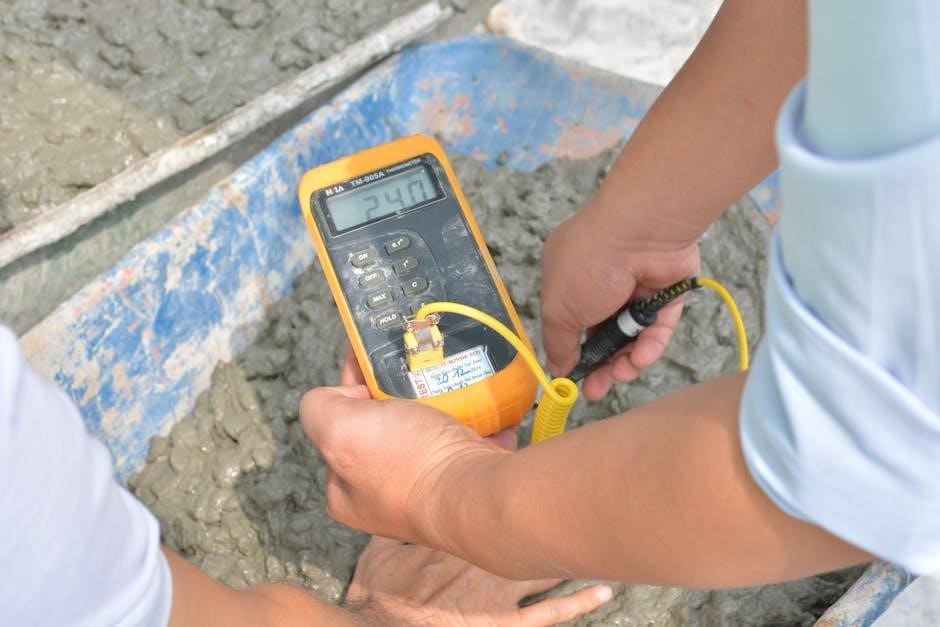
Taking Accurate Readings
To ensure precise measurements, aim the FLTR Thermometer’s laser pointer directly at the target area, maintaining the recommended distance. Hold the device steady to avoid movement interference. Press and hold the measurement button until you hear a beep, indicating the reading is complete. Ensure the target surface is dry and free from obstructions. Avoid measuring in direct sunlight or extreme environmental conditions. The thermometer will display the temperature on the LCD screen. If a fever alarm is triggered, the device will alert you with a high-temperature warning. Always follow the manual’s guidelines for accurate and reliable results. Proper technique ensures consistent and trustworthy measurements every time.
Switching Between Celsius and Fahrenheit
To switch between Celsius and Fahrenheit on your FLTR Thermometer, follow these steps. Ensure the device is turned off. Press and hold the measurement button for 6 seconds until the temperature unit symbol (°C or °F) appears on the screen. Release the button to confirm the change. The device will automatically save your preference and switch the display. This feature allows you to customize the thermometer to your preferred temperature scale. The process is quick and straightforward, ensuring ease of use for all users. Always refer to the manual for additional details on unit conversion and settings. Proper use guarantees accurate and reliable temperature measurements.

Maintenance and Troubleshooting
Regularly clean the infrared sensor with a soft cloth and ensure proper battery levels. For troubleshooting, check sensor clarity, battery status, and settings. Refer to the manual for solutions to ensure accurate readings and optimal performance.

Cleaning the Infrared Sensor
To ensure accurate readings, clean the infrared sensor regularly; Use a soft, dry cloth to wipe away dirt or debris. If necessary, dampen the cloth slightly with water, but avoid harsh chemicals or moisture. Allow the sensor to air dry completely before use. Never touch the sensor lens, as oils from skin can interfere with measurements. For stubborn smudges, a lint-free cloth lightly moistened with distilled water may be used. Ensure the sensor is free from obstructions and clean before storing. Proper maintenance extends the life of your FLTR thermometer and ensures reliable performance. Refer to the manual for detailed cleaning instructions.

Common Error Codes and Solutions

Understanding error codes helps troubleshoot issues with your FLTR thermometer. If “Err1” appears, it indicates a faulty infrared sensor. Clean the sensor gently with a soft cloth or replace it if damaged. For “E2,” the device may need recalibration. Turn off the thermometer, press and hold the measurement button for 5 seconds, then release. If “Lo” displays, the battery is low; replace it with a new one. For other codes, refer to the manual or contact customer support. Regular maintenance and proper handling can prevent most errors. Always ensure the sensor is clean and the device is stored correctly to avoid malfunctions.
Low Battery Indicator and Replacement
The FLTR thermometer features a Low Battery Indicator to ensure uninterrupted use. When the battery level is low, the display shows a “Lo” symbol. Replace the battery promptly by opening the compartment at the back of the device. Insert a new CR2032 battery, ensuring the polarity matches the diagram inside the compartment. Close the compartment securely. If the thermometer does not turn on after replacement, check the battery connections. Proper battery maintenance extends the life of your device. Always use high-quality batteries for optimal performance. Replace the battery if the indicator reappears after a recent replacement, as this may indicate a faulty battery. Regular checks prevent unexpected shutdowns during use.
Thank you for choosing the FLTR Thermometer, a reliable and innovative tool for precise temperature measurement. By following this manual, you can ensure optimal performance and extend the life of your device. The FLTR Thermometer is designed to provide accurate and quick readings, making it an essential tool for both personal and professional use. Regular maintenance and proper care will guarantee its reliability. If you have any further questions, refer to the troubleshooting section or contact customer support. Enjoy the convenience and accuracy of your FLTR Thermometer with confidence. Proper use and care will ensure years of dependable service. Happy measuring!