take and bake bread instructions
Take and bake bread offers a convenient‚ customizable solution for fresh homemade bread without the hassle. Perfectly suited for busy lifestyles‚ it simplifies meal prep while delivering a delicious‚ oven-fresh experience with minimal effort.
What is Take and Bake Bread?
Take and bake bread is partially baked bread that you finish baking at home. It offers convenience and customization‚ allowing you to enjoy fresh‚ homemade-tasting bread without the effort of making dough from scratch. Simply preheat your oven‚ bake for a short time‚ and enjoy a delicious‚ freshly baked loaf with optional additions like herbs or cheese for personalized flavor.
Why Choose Take and Bake Bread?
Take and bake bread is a practical choice for those seeking convenience without compromising on quality. It saves time and effort‚ offering a fresh‚ homemade taste with minimal preparation. Perfect for busy schedules‚ it allows customization to suit any meal‚ making it a versatile and satisfying option for everyday enjoyment or special occasions.

Brief History of Take and Bake Bread
Take and bake bread emerged in the late 20th century as a convenient solution‚ gaining popularity with artisanal bakeries like La Brea Bakery‚ which began in 1989.
Origins and Evolution
Take and bake bread originated in the late 20th century‚ influenced by European artisanal baking traditions. La Brea Bakery‚ established in 1989‚ popularized partially baked breads for home finishing. This concept gained traction as busy households sought convenient‚ high-quality options. Over time‚ advancements in freezing and packaging enabled mass production‚ making take and bake bread a staple in modern grocery stores.
Popularity in Modern Times
Take and bake bread has surged in popularity due to its convenience and customization. Busy households appreciate the ease of baking fresh bread at home without the need for mixing or long proofing times. Its versatility allows for various flavors and uses‚ making it a favorite for meals‚ snacks‚ and entertaining‚ fitting seamlessly into modern lifestyles.
Key Benefits of Take and Bake Bread
Take and bake bread offers unmatched convenience‚ delivering fresh‚ homemade results with minimal effort. Its versatility allows for easy customization‚ while pre-measured portions save time and reduce waste‚ making it a practical choice for any household.
Convenience and Time-Saving
Take and bake bread simplifies meal preparation with pre-measured‚ partially baked loaves. It eliminates the need for mixing‚ kneading‚ and long rising times‚ saving hours of effort. Simply thaw‚ bake‚ and enjoy fresh homemade bread in minutes‚ perfect for busy schedules. This convenient option allows you to bake only what you need‚ reducing waste and saving valuable time.
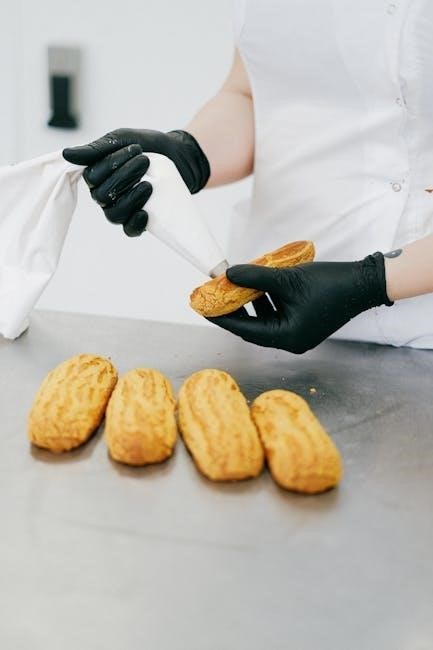
Customization Options
Take and bake bread allows for creative personalization‚ enabling you to tailor flavors to your preferences. Top with herbs‚ cheeses‚ or spices before baking for a unique taste. Some recipes suggest wetting the bread with water or brushing with olive oil for a crusty texture. This flexibility makes it easy to experiment‚ ensuring each loaf is perfectly suited to your meal or occasion.
Cost-Effective Solution
Take and bake bread is an economical choice‚ offering fresh‚ high-quality bread at a lower cost than bakery purchases. It eliminates food waste by allowing you to bake only what’s needed. Freezing options extend shelf life‚ making it a practical and budget-friendly alternative for families and individuals seeking convenience without compromising on taste or quality.
Essentials Needed for Baking
Oven‚ baking sheet or rack‚ timer‚ and sharp knife are essential for baking take and bake bread‚ ensuring consistent results and easy preparation.
Oven Requirements
A conventional oven is typically required for baking take and bake bread‚ with temperatures ranging from 350°F to 400°F. Preheating is essential for even baking. While most recipes are designed for standard ovens‚ some can be adapted for toaster ovens or grills. Ensure your oven is accurate for consistent results‚ as temperature variations can affect crust texture and baking time.
Baking Sheet or Rack
Place the bread directly on the middle oven rack for optimal airflow and even baking. A baking sheet lined with parchment paper can also be used‚ especially for frozen bread‚ to catch any crumbs. Ensure the bread is centered and not touching the oven walls to prevent uneven cooking and promote a perfectly golden crust.
Timer and Knife
A timer is essential for ensuring the bread bakes within the recommended 7-10 minutes for thawed or 10-13 minutes for frozen. A serrated knife is useful for slicing after cooling. Lightly tapping the bread’s base to check for a hollow sound helps confirm it’s fully baked. Proper tools enhance both the baking and serving experience‚ ensuring perfectly cooked and neatly sliced bread every time.
Preheating the Oven
Preheating the oven ensures even baking. For thawed bread‚ preheat to 400F‚ and for frozen‚ 350F. Proper preheating is key to achieving a perfectly golden crust and cooked interior.
Recommended Temperature
For thawed take and bake bread‚ preheat your oven to 400°F (200°C). If baking from frozen‚ reduce the temperature to 350°F (175°C) to ensure even cooking. Adjustments may be needed based on your oven’s performance for optimal results. Always refer to the packaging for specific temperature guidelines to achieve the best outcome.
Importance of Proper Preheating
Proper preheating ensures even baking and a crispy crust. It activates yeast activity‚ promoting rise and flavor development; Incorrect temperatures can lead to undercooked or burnt bread. Always preheat the oven to the recommended temperature before baking for consistent‚ professional results every time. This step is crucial for achieving the perfect texture and golden-brown finish.
Baking Instructions for Thawed Bread
Thaw bread at room temperature. Preheat oven to 400F. Place bread on middle rack. Bake 7-10 minutes until golden brown.
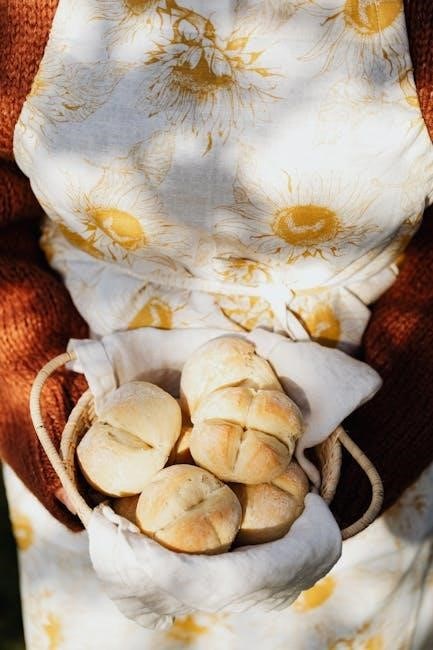
Placing the Bread
Place thawed bread directly on the middle oven rack for even baking. Gently position the loaf or rolls to avoid overcrowding‚ ensuring proper air circulation. For best results‚ avoid stacking loaves‚ as this can affect crust formation. Lightly dust the rack with cornmeal if desired to prevent sticking. This setup ensures a perfectly baked crust every time.
Baking Time and Crust Color
Bake at 400°F for 7-10 minutes for thawed bread or 10-13 minutes if frozen. Monitor the crust to ensure it reaches your desired golden-brown shade. For a crisper texture‚ bake until the crust is slightly darker. Keep an eye during the last few minutes to prevent over-browning‚ achieving the perfect balance of crunch and softness in every loaf.
Baking Instructions for Frozen Bread
Frozen take and bake bread requires slightly longer baking times to ensure even cooking. Preheat your oven and adjust temperature as needed for optimal results‚ delivering a freshly baked crust and soft interior every time.
Adjusting Temperature and Time
For frozen take and bake bread‚ preheat the oven to 350-400°F. Bake for 10-15 minutes‚ adjusting time based on crust preference. Lower temperatures may require longer baking‚ while higher temperatures achieve crispiness faster. Monitor the bread closely to avoid overcooking‚ ensuring a golden-brown crust and a soft interior for the perfect texture.
Ensuring Even Baking
Place the bread on a baking rack or directly on the oven rack for air circulation. Rotate the bread halfway through baking to ensure even crust development. Monitor the crust color closely‚ as ovens vary. For thawed bread‚ bake 7-10 minutes‚ and for frozen‚ 10-13 minutes. This ensures a consistent golden-brown finish and prevents hot spots.
Tips for Achieving the Perfect Crust
Preheat the oven to 400F‚ place bread on the middle rack‚ and bake for 7-10 minutes until golden. Rotate halfway for even browning and crispiness.
Techniques for Crispiness
Achieve the perfect crust by preheating your oven to 400F and placing the bread on the middle rack. Bake for 7-10 minutes‚ or until golden brown. For frozen bread‚ bake at 350F for 10-13 minutes. Rotate the bread halfway through for even browning. Let it cool slightly before slicing to maintain crispiness and texture.
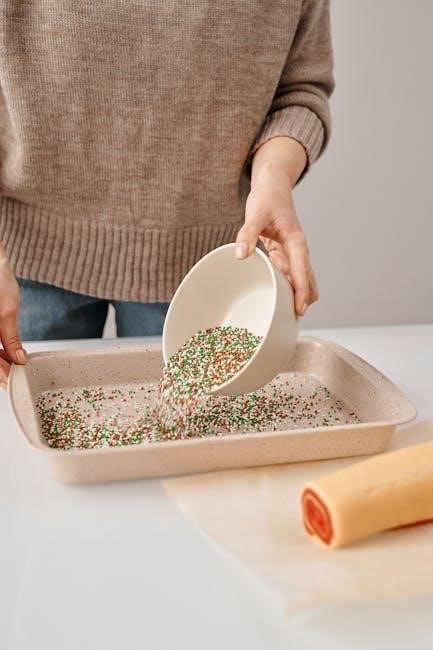
Optional Finishing Touches
Elevate your take and bake bread by adding a light brush of butter or olive oil before baking for a golden finish. Sprinkle with herbs or cheese for extra flavor. Scoring the bread with a knife can enhance crispiness and create a rustic appearance. These optional touches add a personal flair to your homemade bread experience.

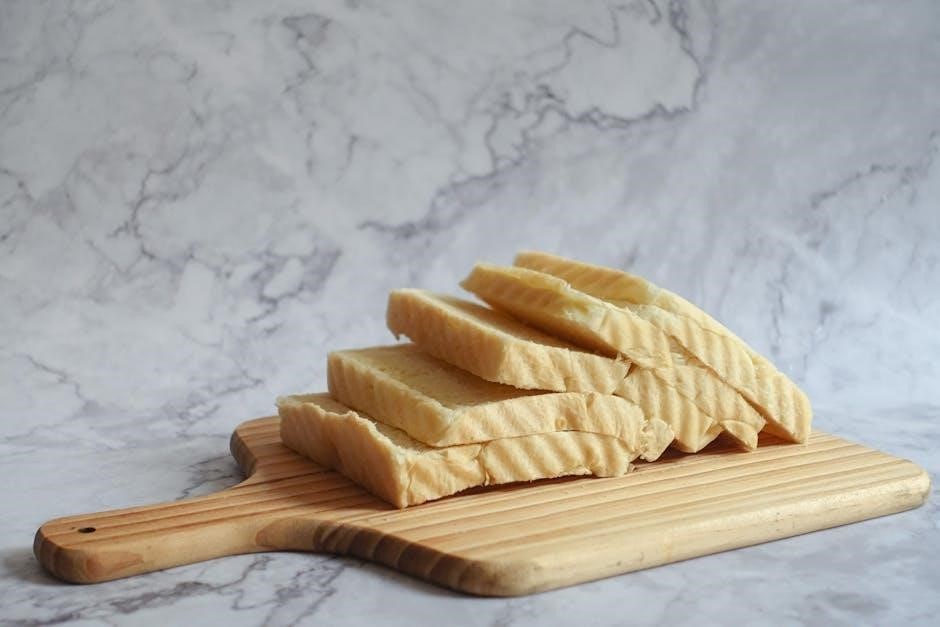
Cooling and Slicing
Allow the bread to cool slightly before slicing to maintain texture and structure. Use a serrated knife for even cuts‚ ensuring a clean and precise slice every time.
Importance of Cooling
Cooling bread after baking is crucial for maintaining its structure and texture. It prevents the crust from becoming soggy and stops the cooking process‚ ensuring the interior stays soft and even. Proper cooling also makes slicing easier and prevents the bread from tearing. Letting it rest for a few minutes before slicing is essential for the best results.
Best Practices for Slicing
For optimal slicing‚ use a serrated knife and a stable cutting surface. Slice gently in a sawing motion to avoid tearing the bread. Let the bread cool slightly before slicing to ensure clean cuts. For even portions‚ slice in uniform thicknesses. Consider using a bread knife or electric slicer for precise results and consistent texture.
Advanced Baking Techniques
Elevate your take and bake bread by experimenting with herbs‚ cheeses‚ or alternative baking methods like grilling or toasting for a unique‚ personalized flavor and texture experience.
Customizing with Herbs or Cheese
Add fresh herbs like rosemary or thyme‚ or sprinkle cheese for extra flavor. For a crispy texture‚ lightly brush the bread with olive oil before baking. This enhances the crust and infuses the bread with aromatic flavors‚ creating a delicious twist on traditional take and bake bread.
Using Alternative Baking Methods
Explore beyond the oven with alternative baking methods. Use a toaster oven at 350°F for 5-7 minutes or a grill over medium heat for a crispy crust. For a panini press‚ bake at medium heat until golden; These methods offer versatility and shorter baking times‚ ensuring fresh‚ flavorful bread tailored to your preference and cooking setup.

Storage and Freshness
Store baked bread in a cool‚ dry place or freeze for up to 3 months. Freeze before baking for optimal freshness‚ ensuring a fresh-baked taste whenever desired.
Storing Baked Bread
After baking‚ store bread in a cool‚ dry place to maintain freshness. Use a paper bag or breathable container to prevent moisture buildup. For longer preservation‚ freeze bread at 0°F (-18°C) in airtight packaging. When frozen‚ bread can be stored for up to 3 months without losing its quality or flavor.
Freezing for Later Use
Freezing is an excellent way to preserve take and bake bread for future use. Place the loaf in an airtight container or freezer-safe bag‚ ensuring no air exposure to prevent freezer burn. Store at 0°F (-18°C) for up to 3 months. When ready to bake‚ simply thaw at room temperature or bake directly from frozen‚ adjusting time as needed.
Troubleshooting Common Issues
Common issues with take and bake bread include overcooking‚ undercooking‚ or uneven baking. Adjusting oven temperature and baking time can help resolve these problems for perfect results.
Overcooked or Undercooked Bread
Overcooked bread may result in a too-crispy crust or dry interior‚ while undercooked bread can be soft or doughy. To avoid this‚ monitor baking time closely and check crust color. Adjusting the oven temperature slightly can also help achieve the perfect texture. Ensuring even baking and proper preheating are key to consistent results every time;
Uneven Baking or Burnt Crust
Uneven Baking or Burnt Crust
Uneven baking can occur due to improper oven temperature or placement‚ while burnt crusts often result from high heat or overbaking. To prevent this‚ rotate the bread halfway through baking and ensure your oven is preheated correctly. Using a baking sheet or rack can also promote even heat distribution for a perfectly golden crust every time.
Take and bake bread offers unmatched convenience and flavor‚ perfect for home baking. With simple instructions and customizable options‚ it brings freshness and joy to every meal effortlessly.
Take and bake bread offers convenience‚ customization‚ and cost-effectiveness. Preheat your oven‚ place the bread on the rack‚ and bake for 7-15 minutes. Thawed bread bakes faster than frozen. Cooling before slicing ensures texture. Freeze for later use and enjoy fresh‚ homemade-quality bread with minimal effort‚ perfect for various meals and occasions.
Encouragement to Experiment
Take and bake bread is versatile and fun to experiment with! Try adding herbs‚ cheese‚ or spices for unique flavors. For a crisper crust‚ bake at higher temperatures or use a toaster oven. Don’t be afraid to adjust times or methods—each experiment brings new results. Enjoy the journey of creating personalized bread that perfectly matches your taste preferences and dining occasions.